

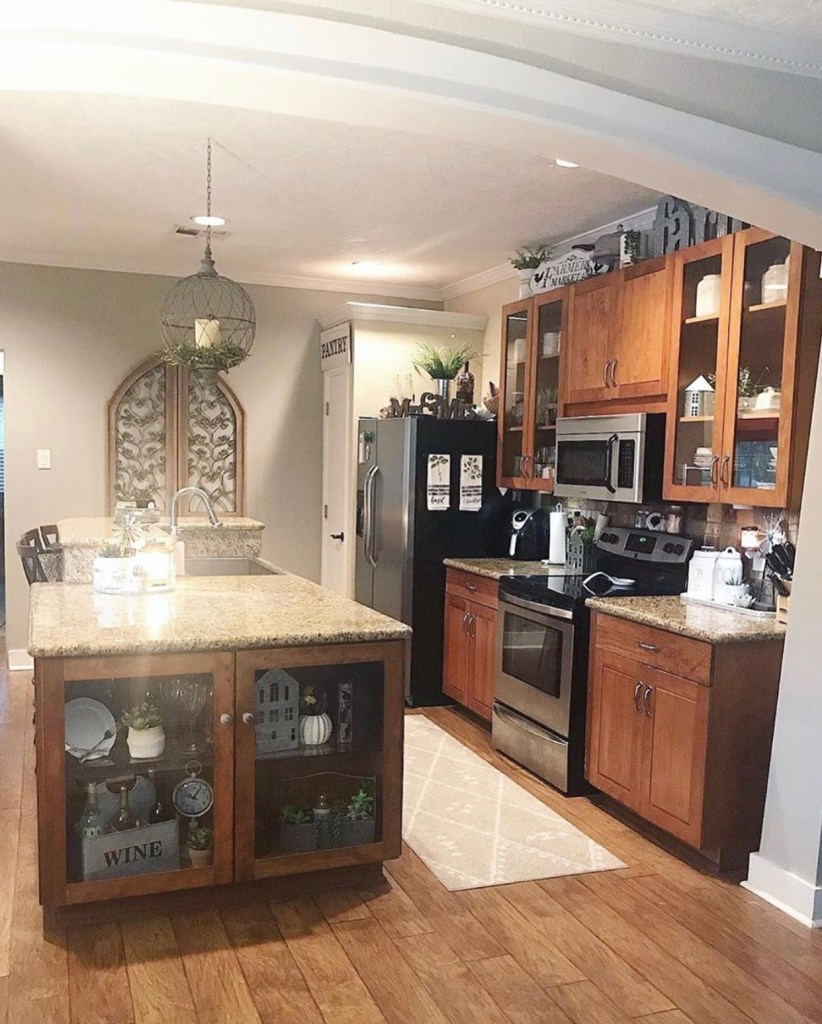
Took my kitchen revamp to another level by painting the backsplash! If you’re new here, check out my DIY cabinet painting blog post for more info on that. I ended up using the same paint I had left over from the cabinets so this was a free project. 🙌🏼


This paint is offered in other color options which I will link below too. I went with white because I wanted them crisp and bright.


I had about 20% of this can of paint left after doing the cabinets and it only took me about half that to do our backsplash.
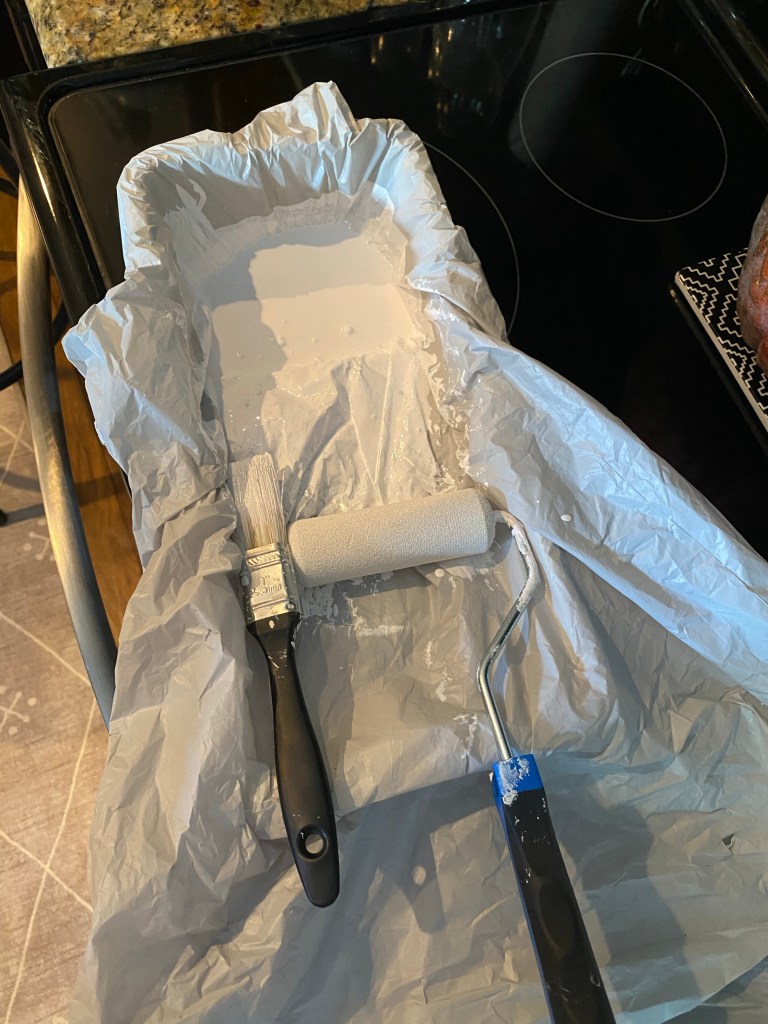
I ended up just using a brush on the back splash because the foam roller couldn’t get in the grout.
You’ll need to do at least 3 coats of paint. Some areas may need more or less.
I used NO top coat over this paint because I was scared it would yellow and I honestly didn’t need it.


If you’re on the fence about DIY’ing your kitchen, DO IT! Sooo worth it. Everything I used is linked below and if you have any questions, feel free to comment!
Be sure to subscribe to this blog before you go! 💕

